








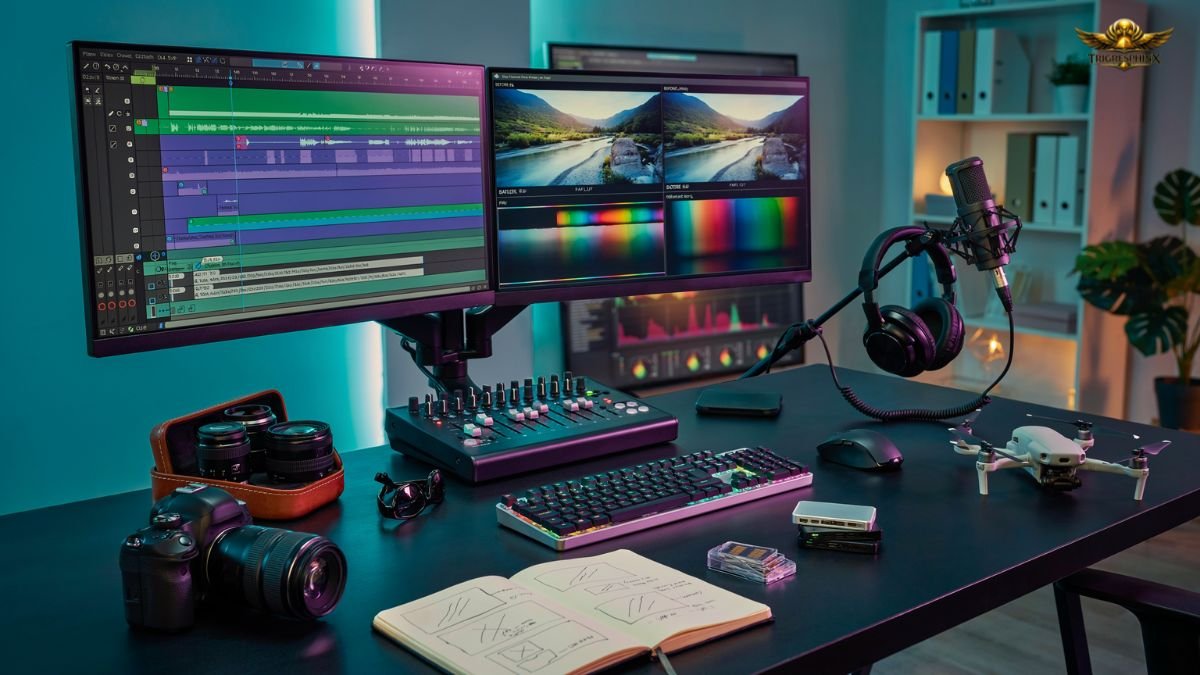
Video editing turns raw footage into clear, engaging stories that hold attention. Whether you create YouTube videos, social media content, or personal projects, strong video editing skills make your content look professional, more engaging, and easier to watch. This guide covers practical steps, from planning to final export, so you can edit videos with confidence and produce results that feel professional.
What Is Video Editing?
Video editing is the process of selecting, arranging, and refining clips to create a finished piece. It includes cutting unwanted parts, adjusting timing, improving sound, correcting colors, and adding simple graphics or effects. The goal is not to add every possible filter but to shape the material so the message comes through clearly and naturally.
Why Video Editing Matters
Good editing keeps people interested. Viewers leave quickly when videos drag, jump around, or sound unclear. Clean cuts, steady pacing, and balanced audio make content easier to follow. On platforms like YouTube and Instagram, professionally edited videos capture attention faster, increase viewer engagement, and often achieve better overall performance. Editing also lets you fix small mistakes without reshooting everything, saving time and effort.
Plan Your Edit Before You Start
Before opening any software, watch your footage and note the strongest moments. Decide the main point of the video and the order of scenes. Write a simple outline or rough script of the sequence you want. Planning reduces wasted time later and helps you stay focused on the story instead of endless tweaking.
Choose the Best Video Editing Software
Pick software that matches your skill level and computer power. Beginners often start with free or simple tools that offer basic cutting, text, and music features. More advanced users move to programs with timeline control, color tools, and effect layers.The best video editing software is the one you can learn quickly, use confidently, and rely on for consistent results
Organize Your Footage Before Editing
Label folders clearly by date, scene, or type of shot. Rename clips so you can find them fast. Group similar takes together. Good organization prevents the common problem of searching through hundreds of files while the creative flow stalls. A well-organized project file makes editing faster, simplifies future revisions, and allows you to collaborate or share your work with ease.
Make Tight and Clean Cuts
Strong edits remove anything that slows the video. Keep only the clips that add value, move the story forward, and keep viewers engaged.
Remove Unnecessary Footage
Cut any clips that repeat the same idea or fail to add value to the story.Every second should earn its place.
Trim Silent Moments
Long pauses where nothing happens break attention. Shorten them or replace with relevant visuals so the pace stays steady.
Keep Scene Changes Natural
Switch shots at points that feel logical, such as the end of a sentence or a clear action. Sudden jumps without reason confuse viewers.
Cut Long Pauses and Unnecessary Clips
Review the timeline and delete dead air, repeated phrases, and off-topic comments. A shorter, tighter video usually performs better than a long one filled with filler. Aim for clarity over length.
Choose the Best Angles and Takes
When you have multiple versions of the same moment, pick the one with the clearest expression, best framing, and strongest energy. Alternate between angles to keep the eye interested, but never switch just for the sake of variety.
Maintain Eye Contact and Eye Alignment
In talking-head videos, keep the speaker looking toward the camera or a consistent direction. When cutting between shots, match eye lines so the viewer feels the person is addressing them directly. This small detail builds connection.
Use Wide, Medium, and Close-Up Shots Effectively
Wide shots show the setting and context. Medium shots focus on the person and actions. Close-ups capture emotion and detail. Mix them deliberately so the audience always understands where they are and what matters most in the moment.
Improve Storytelling With B-Roll Footage
B-roll is supporting footage that adds context, improves storytelling, and makes your videos more engaging.It covers cuts, illustrates points, and adds visual interest.
When to Use B-Roll
Add it when the speaker describes something that can be shown, during pauses, or to hide a jump cut.
Avoid Overusing B-Roll
Too many supporting clips can distract from the main message. Use them only when they strengthen understanding.
Match B-Roll With the Story
Choose images that directly relate to the words being spoken. Random or mismatched clips break trust with the viewer.
Use Split Edits for Smoother Scene Changes
Split edits, such as J-cuts and L-cuts, create seamless transitions by overlapping audio and video for a smoother viewing experience.These techniques create smoother transitions and keep the flow natural instead of abrupt.
Master Video Transitions
Transitions should serve the story, not draw attention to themselves.
Cut Transitions
A simple hard cut is often the cleanest choice. Use it for most scene changes.
Dissolve Transitions
A gentle dissolve works well for time passage or emotional shifts.
Fade In and Fade Out
Fades mark the beginning or end of a section and give the audience a clear signal.
Match Cuts
Match the shape, movement, or color of one shot to the next for a seamless link.
J-Cuts and L-Cuts
Staggered audio and video cuts create seamless transitions, enhance the flow of your story, and make conversations and scene changes feel more natural, polished, and professional.
Set the Right Transition Timing
Keep transitions short. Long fancy effects slow the pace and can look outdated. Match the length of the transition to the energy of the content.
Use Dissolves and Fade Effects Naturally
Apply dissolves only when the story benefits from a softer change. Overusing them makes the video feel slow and less professional.
Apply Zoom Effects With Precision
Subtle zooms can emphasize a point or create mild movement. Sudden or repeated zooms feel amateur. Adjust speed and distance carefully so the effect supports rather than distracts.
Adjust Effect Controls for Better Results
Most software lets you fine-tune opacity, duration, and intensity of effects. Small adjustments often produce cleaner results than maximum settings.
Maintain Smooth Video Pacing
Pacing is the rhythm of cuts and scene length. Faster cuts raise energy; longer holds create calm or emphasis. Match the pace to the topic and audience expectation. Watch the edit at full speed and feel whether it drags or rushes.
Give Your Edits Time to Breathe
Not every second needs a cut. Allow a moment of silence or a held shot after an important point so the idea can land. Constant motion can exhaust viewers.
Remove Mistakes and Distractions
Cut out stumbles, background noise spikes, and visual clutter. If a moment cannot be fixed cleanly, rephrase or remove it. Clean footage builds credibility.
Pay Attention to Body Language and Facial Expressions
Choose takes where the speaker looks engaged and natural. Avoid frames where posture or expression undercuts the words. Body language often communicates more than dialogue.
Enhance Audio Quality for Better Viewer Experience
Clear sound is as important as clear pictures. Reduce background noise, balance volume levels, and make sure speech stays easy to understand. Poor audio causes people to leave even when the visuals look good.
Add Background Music and Sound Effects
Music sets mood and covers small gaps. Keep the volume low enough that speech remains primary. Sound effects can highlight actions but should stay subtle. Always check the final mix on different devices.
Improve Color Correction and Color Grading
First correct exposure and white balance so the image looks natural. Then apply gentle grading to create a consistent mood across the video. Avoid extreme filters that make skin tones look unnatural.
Add Professional Titles, Captions, and Graphics
Simple, readable text helps viewers follow along, especially those watching without sound. Place titles and captions where they do not cover important action. Keep fonts clean and consistent.
Optimize Videos for YouTube and Social Media
Best Export Settings
Export in a widely supported format such as MP4 with H.264 encoding for broad compatibility.
Choose the Right Video Resolution
1080p works well for most platforms. Higher resolutions are useful when the platform supports them and your source footage is sharp.
Select the Correct Aspect Ratio
Use 16:9 for YouTube and horizontal content. Vertical 9:16 suits short-form platforms. Square works for some feed posts.
Reduce File Size Without Losing Quality
Adjust bitrate carefully. Slightly lower bitrates often keep visual quality high while making uploads faster and playback smoother.
Common Video Editing Mistakes to Avoid
Avoid overusing effects, leaving long pauses, ignoring audio, and exporting at the wrong resolution. Also resist the urge to keep every clip just because you filmed it. Less is usually more.
Advanced Video Editing Techniques
Once basics feel comfortable, explore multi-camera editing, speed ramps, and simple motion tracking. These tools expand creative options without requiring complex software knowledge.
AI-Powered Video Editing Tools
Modern tools can auto-cut silence, generate captions, and suggest rough edits. They speed up routine work and free time for creative decisions. Use them as helpers rather than full replacements for judgment.
Cloud-Based Video Editing Workflows
Cloud platforms allow teams to work on the same project from different locations. Files stay updated, and feedback happens in real time. This approach suits collaborative or remote projects.
Future Trends in Video Editing
Editing continues to evolve with smarter automation and higher-quality standards.
AI Video Editing Automation
Tools will handle more repetitive tasks such as initial rough cuts and basic cleanup.
Automatic Caption Generation
Accurate auto-captions will become standard, improving accessibility.
Smart Object Tracking
Software will follow subjects more reliably for smoother effects and reframing.
Real-Time Cloud Collaboration
Teams will edit together live with less friction.
8K and HDR Video Editing
Higher resolution and dynamic range will demand better hardware and refined color workflows.
AI Audio Enhancement
Noise reduction and voice clarity tools will grow more precise and natural-sounding.
Is Professional Video Editing Worth Learning?
Yes. Strong editing skills improve every video you make and open doors to paid work, better personal content, and clearer communication. The learning curve is manageable when you practice consistently with real projects.
Frequently Asked Questions
Many beginners ask how long it takes to learn basic editing. Most people become comfortable with core tools within a few weeks of regular practice. Another common question is whether free software is enough. For many creators, free or low-cost options produce excellent results when used well.
Final Thoughts
Professional-looking videos come from careful planning, clean cuts, solid audio, and thoughtful pacing rather than complicated effects. Start with the fundamentals, keep improving one skill at a time, and review your finished work with fresh eyes. Consistent practice turns these tips into habits, and those habits produce videos that feel clear, engaging, and worth watching.